
HOW TO: CREATE A BRANDED DIGITAL BUSINESS CARD FOR YOUR APPLE WALLET
The business card designed for a post-covid world will let you make a great first impression as well as save you huge amounts on printing costs.
It is free
Works on iPhones only
No registrations necessary
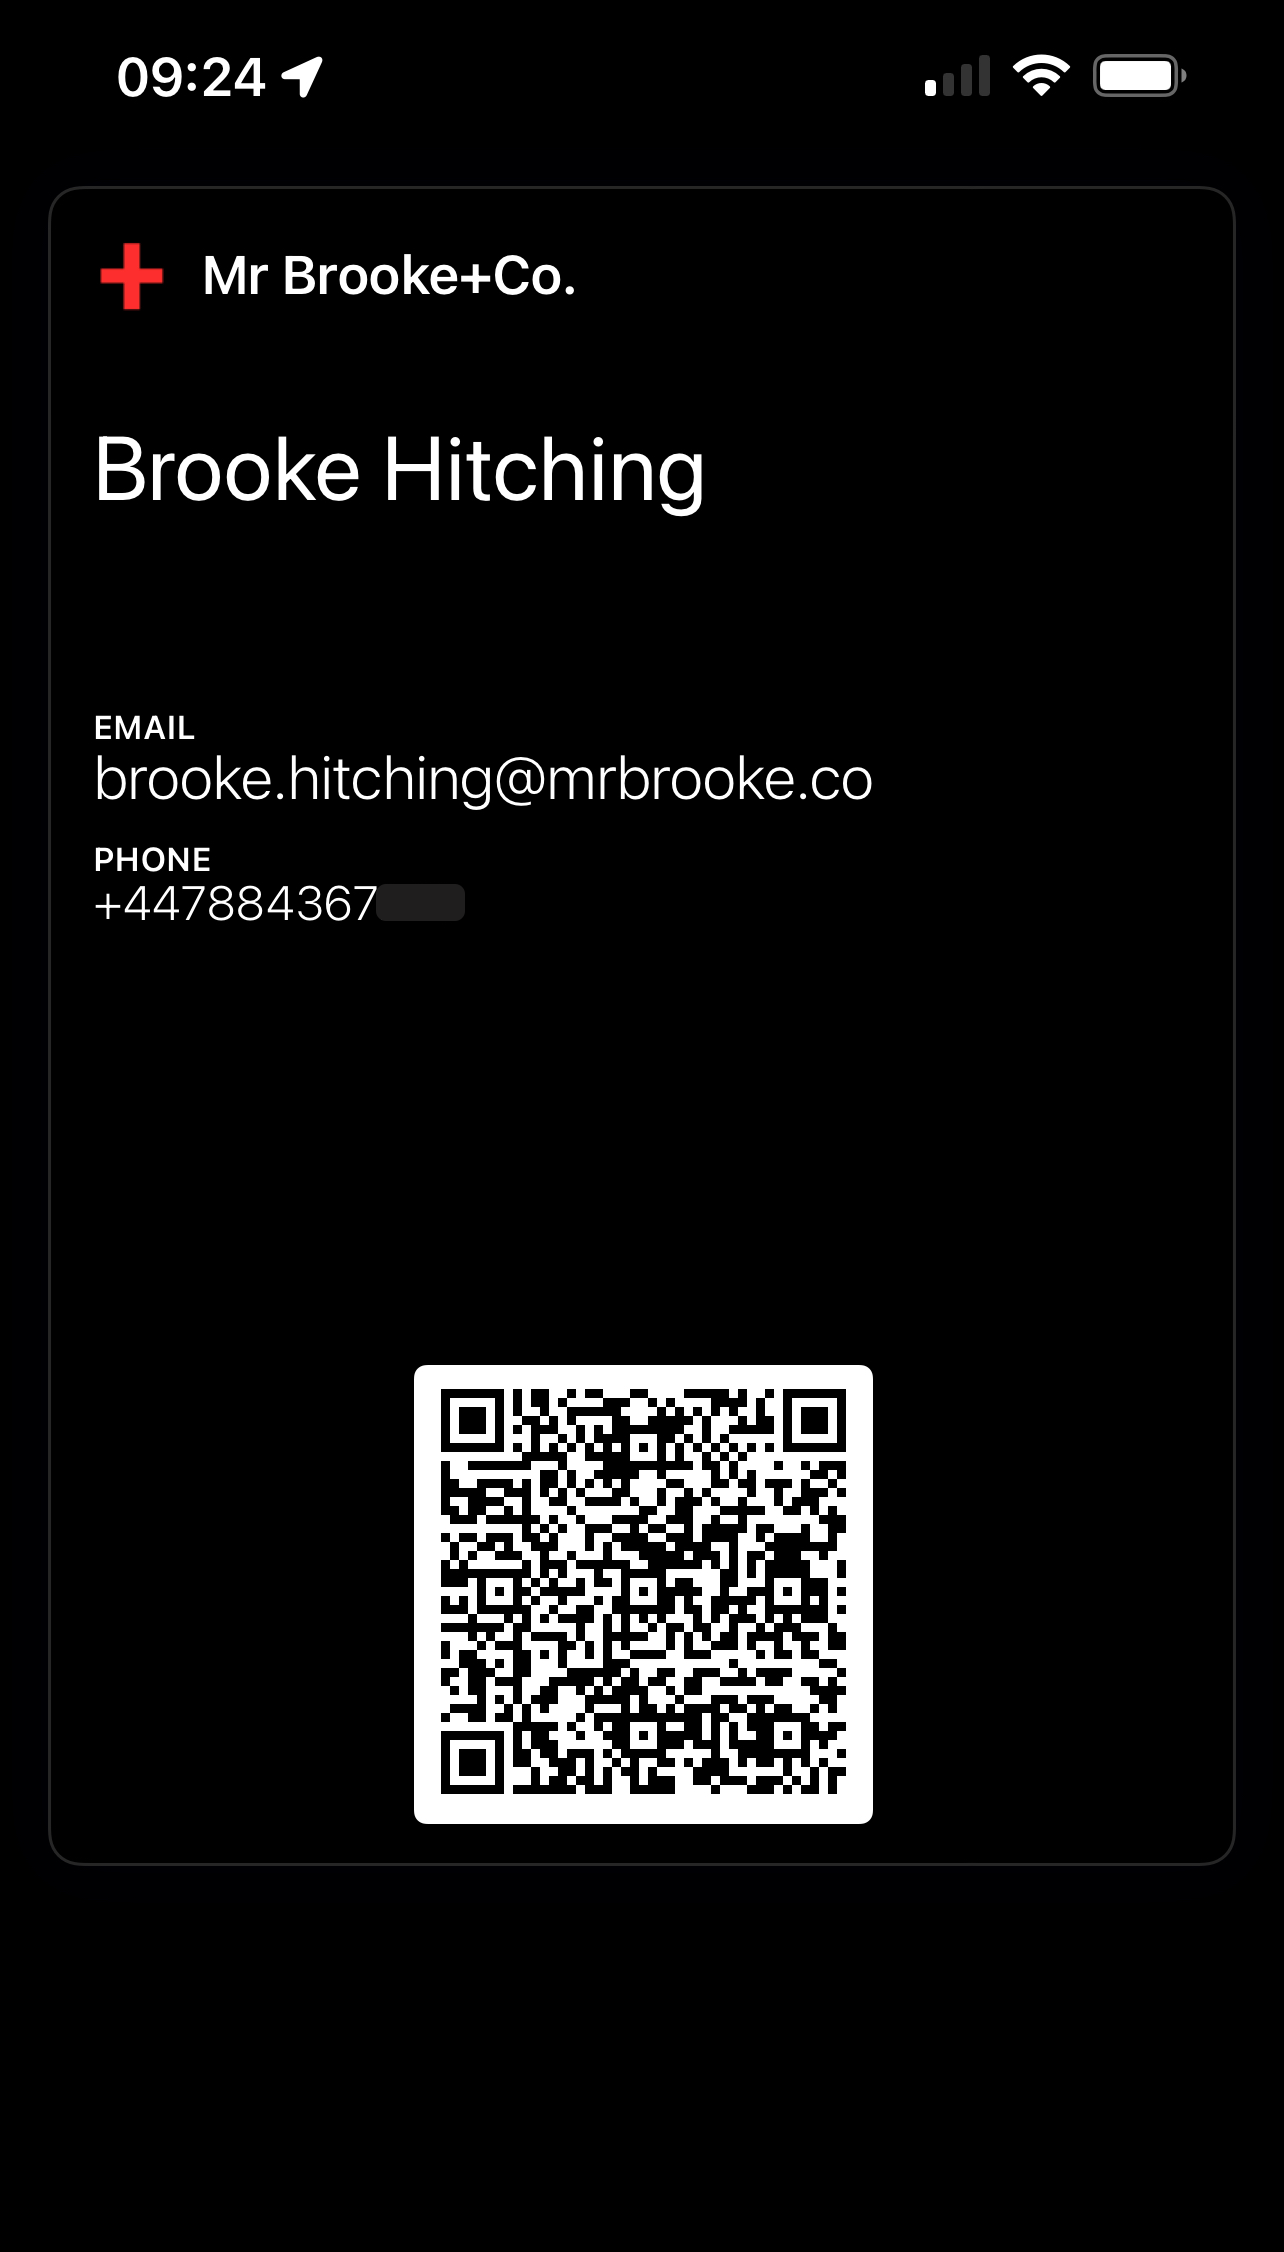
I double-click on the power button on the side of my iPhone and up pops my Apple wallet, and my business card is ready to be scanned by their camera.
I can’t tell you how useful this is while out at networking events, meetings, or even socialising.
As a consultant who needs to be able to explain ways of optimising a person’s business, having this as my business card definitely kicks things off in the right way. With the amount of ‘that’s cool!’ comments I’ve received, clearly it leaves a great first impression.
This will also save you a huge amount on printing costs!
STEP 1
Create the QR code.
Click here:
http://zxing.appspot.com/generator/
And fill out the details as show here.
Click ‘Generate’.
Save the QR code file.
Load it up on screen.
Point your phone camera at it to test if it works. The name of the contact should pop up, click on it and check the details are correct.

STEP 2
Create the Apple Wallet business card.

Go to the App Store and download ‘Wallet Creator’ app, by ‘at2 GmbH’.
Load up the app and click the ‘+’ sign in the top right.
Fill in the fields as I have done in the screenshot.
You will need a small version of your company logo for where the Mr Brooke+Co. red ‘+’ is.
You will need your company colours in HEX code format - a 6 digit code. If you don’t know what these are, upload an image with your colours in them to this website here.
Click ‘Add to Apple Wallet’ and check to see how it looks. Make any edits accordingly.
STEP 3
Get out there and start networking!
TIP: If you want to be able to double-click side / power button to bring up your Apple Wallet:
Go to Settings.
Scroll down to ‘Wallet & Apple Pay’
Click on ‘Double-Click Side Button’
ENJOY!